Many of us have encountered the dilemma of wanting our battery operated lights to stay lit without the hassle of constant battery replacements. The good news is that converting battery-powered LED lights, such as string lights and LED strips, to a plug-in power source is entirely possible. Not only does this conversion offer the convenience of having lights that will run continuously, but it also can be more cost-effective and environmentally friendly. In this comprehensive guide, we will walk you through the process of converting your battery operated lights so that they can be powered by an AC adapter, ensuring that your cozy ambiance remains uninterrupted.
Understanding the Basics of Light Conversion
Before you begin, it’s essential to know what type of battery-powered lights you have. LED strings, light strings, and decorative lamps are often powered by battery packs, typically AA battery cells. Christmas lights and fairy lights are also commonly found as battery-operated variants. Understanding your lights’ specifications is key as it will determine the type of AC adapter required for the conversion.
The Essentials of Electrical Wiring
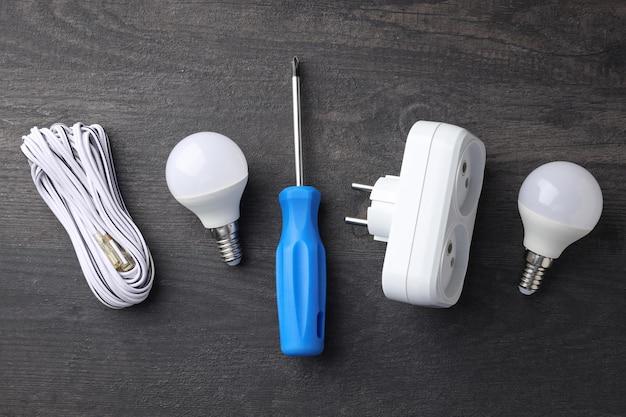
Electricity can be intimidating, but with the right knowledge, converting your lights to plug-in power can be straightforward. Your focus should lie in matching the voltage of the battery packs with an appropriate AC adapter. This keeps your LEDs safely lit without overloading or damaging the bulbs. A clear understanding of positive and negative wiring connections is also essential. Here’s a quick table to help you understand the items you’ll need and their purpose:
| Item | Use |
|---|---|
| AC Adapter | To provide consistent power to lights |
| Wire Cutters/Strippers | For preparing the wires for connection |
| Soldering Iron (Optional) | To create secure wire connections |
| Electrical Tape or Heat Shrink Tubing | To safely insulate connections |
Preparing for the Conversion Process
It’s critical to take the proper safety precautions before starting the conversion. First, ensure that the battery operated lights are switched off and the battery packs removed. Working in a well-lit and clean area will help you see and manage the wiring better. If you’re not experienced with electrical work, you may want to consider enlisting the help of someone who is more knowledgeable or willing to assist in ensuring safety throughout the process.
Gathering Your Materials
With safety protocols in place, it’s time to collect the materials you’ll need for the conversion. First on the list is an appropriate AC adapter that matches the voltage and amperage requirements of your lights. Here’s a numbered list detailing the essentials:
- AC adapter with the correct output voltage and current
- Wire cutters and strippers for preparing electrical wires
- Screwdriver for opening the battery compartment (if necessary)
- Soldering iron and solder (optional but recommended for a strong connection)
- Electrical tape or heat shrink tubing to insulate exposed wires
- Multimeter for testing connections (optional but useful)
Step-by-Step Conversion Process
The first step in converting your lights involves removing the battery pack or compartment. This could often involve unscrewing the compartment or carefully opening any clips or latches securing it. Once open, carefully remove any existing AA batteries. For LED strips or strings controlled by a small battery box, you may find that the box can be completely disconnected from the light strings.
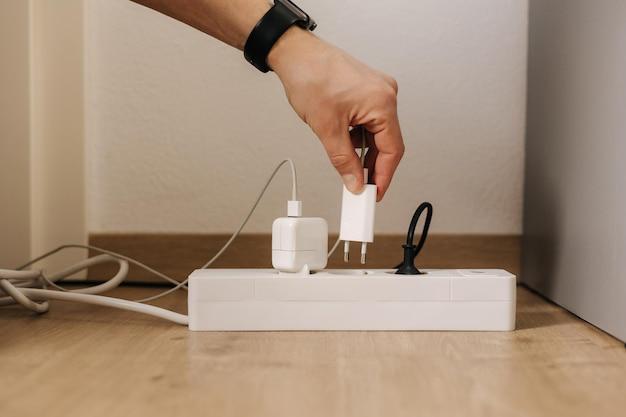
Attaching the AC Adapter
Your next move is to attach the AC adapter to the wiring that was once connected to the battery compartment. Cut off the connector from the adapter, strip the insulation from the wires, and attach them to the corresponding positive and negative wires of the light. You could solder the wires for a more secure connection, followed by insulating them with electrical tape or heat shrink tubing. Here is a second numbered list outlining these steps:
- Identify the positive and negative wires on both the LED lights and the AC adapter.
- Cut the battery pack off and strip the ends of the light’s wires.
- Do the same with the AC adapter, being careful not to mix up the positive and negative wires.
- Connect the wires either by twisting them together, using wire connectors, or soldering them.
- Cover exposed connections with electrical tape or heat shrink tubing.
- Ensure there are no loose wires and that everything is secured in place.
Finishing Touches and Troubleshooting
With the wiring connections made, it’s time to tidy up. Use cable ties or adhesive clips to neatly secure the wires, ensuring there’s no undue stress on the connections that could cause them to come loose over time. Ensure the AC adapter is positioned in a way that does not present a trip hazard and allows the lights to be displayed as intended.
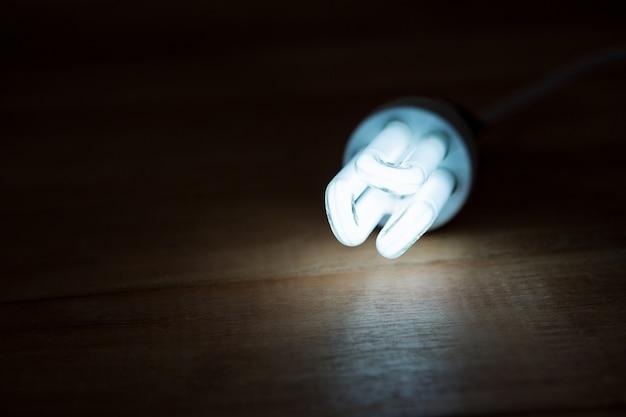
Testing Your Newly Converted Plug-In Lights
Before celebrating the completion of your project, a thorough test is in order. Plug in your AC adapter and turn on the power to test if the lights are functioning as expected. If your LED lights do not illuminate, re-check your connections and ensure all positives and negatives are paired correctly. A multimeter can help you confirm the points of failure if necessary. If troubleshooting does not resolve the issue, seeking professional assistance is advisable to prevent electrical mishaps.
Conclusion
Converting your battery operated lights to plug-in is a great way to maintain consistent lighting without the need for constant battery changes. Whether you’re dealing with Christmas lights or simple battery-powered LED bulbs, following the steps outlined above should help you achieve a successful conversion. By choosing to convert, not only are you saving money on batteries, but you’re also contributing to a more environmentally-friendly solution. Embrace the creativity and utility that comes with plug-in lights, and enjoy your bright, hassle-free illumination.
FAQs
Q1: Is it safe to convert battery operated lights to plug-in?
A1: Yes, it is generally safe to convert battery-operated lights to plug-in as long as you follow correct procedures and maintain proper safety practices. If unsure, always seek professional advice.
Q2: What type of AC adapter do I need to convert my battery operated lights?
A2: You will need an AC adapter that matches the voltage and current specifications of your battery operated lights. This information can typically be found on the lights themselves or their documentation.
Q3: Can all battery operated lights be converted to plug-in?
A3: Not all battery operated lights can be converted. It’s crucial to check the specifications of your lights and whether they were designed to support conversion before proceeding.
Q4: How can I ensure that my converted lights are energy-efficient?
A4: Use a correctly rated AC adapter and consider using LED lights, as they consume less power and have a longer lifespan compared to traditional bulbs.
Q5: What should I do if my plug-in light conversion isn’t working?
A5: Recheck all connections, ensuring proper matching of positive and negative wires. If issues persist, consult a professional electrician for assistance.