Assembling a computer with your own hands is a completely doable task, even if you are new to this business. This guide, How to Build Your Own Computer: A Complete A to Z Guide for Dummies, is designed to guide you through every step of the process. The main idea is to select the appropriate components that suit your tasks and budget, and then assemble them into a single whole.
This is not only financially beneficial, but also provides the opportunity to gain in-depth knowledge of PC architecture and operation, as well as the pleasure of the creation process and the ability to create a unique computer configuration that exactly suits your needs.
Preparing for assembly
Many people ask the question: “Is it difficult to assemble a computer yourself from components?” The answer depends on how well you prepare and become familiar with the process. First, determine the purposes that the assembled PC will serve – be it gaming, graphics and video work, office tasks, or versatility. Depending on this, the configuration and, accordingly, the budget will be formed. Budgeting is a key part of planning because it determines the level of components you can count on.
To understand “how to properly build a computer from components yourself,” it is worth choosing each component carefully. It is advisable to purchase all components at the same time to avoid situations where some of them become obsolete before use. It is important to check the compatibility of the selected parts to avoid conflicts and inconsistencies.
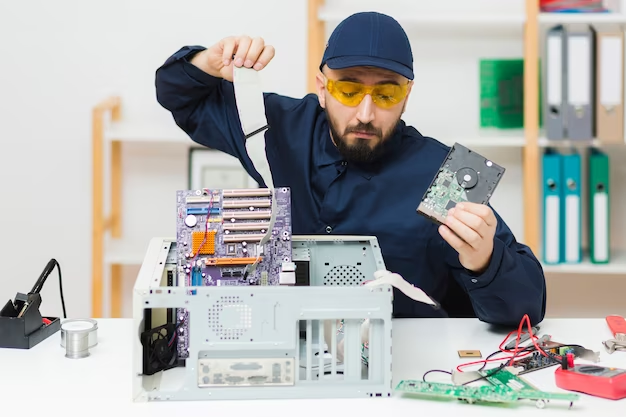
Assembling a computer begins with preparing a comfortable workspace, which should be clean, spacious and well lit. The desk should be free of any foreign objects that could create static electricity or physically damage components. The tools you will need are screwdrivers, an antistatic wrist strap, and containers for screws and small parts.
Computer components
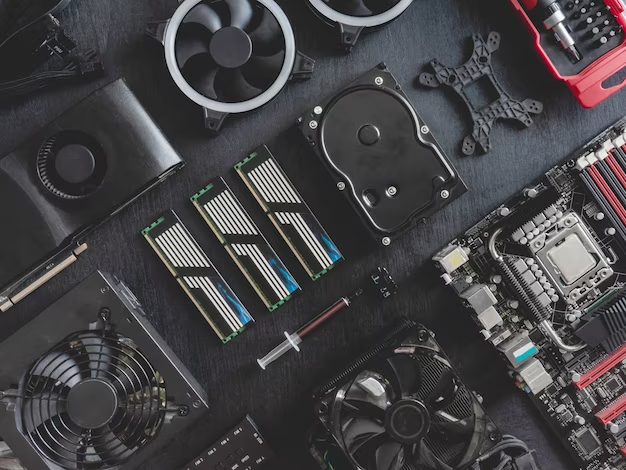
Selecting components is the initial and most important step that will determine the overall performance and functionality of your future PC. Below is a list of the main elements that will be required for assembly:
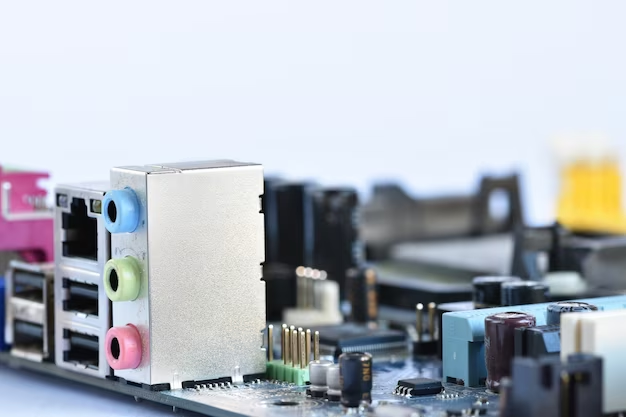
- The motherboard is the foundation to which each component of the system is connected.
- The processor (CPU) is the “brain” of the computer, performs all computing operations.
- Random access memory (RAM) – designed for temporary storage of running processes and data.
- Hard disk or solid state drive (HDD/SSD) – space for storing programs and user files.
- Video card (GPU) – specializes in processing and outputting graphics.
- Power supply unit (PSU) – source of energy for components.
- Case – design , which protects the components and ensures their ventilation and cooling.
Before purchasing, you should compare the characteristics and prices, and also study reviews and recommendations for each of the components. Here is a table to simplify the selection:
| Component | Features | Selection recommendations |
|---|---|---|
| Motherboard | Form factor, socket, chipset | Compliance with processor type and future expansions |
| CPU | Clock frequency, number of cores | For games – more powerful, for office applications – economical |
| RAM | Volume and speed | At least 8GB for stable operation |
| HDD/SSD | Internal speed, connection type | SSD for system speed, HDD for archive |
| GPU | Power, video memory | Select depending on requirements to the graphics of games or work programs |
| PSU | Power, reliability | With a margin of approximately 20% over total consumption |
| Case | Spacious, cooling system | Should provide good cooling for all components as needed |
The next stage is “how to independently assemble a computer from components, step-by-step instructions,” which is a sequence of assembly actions.
Steps for assembling a PC
Let’s start assembling. The first thing to do is install the motherboard into the case. To do this, you should insert spacer screws into the case to provide an air gap between the board and the metal of the case, which will prevent possible short circuits.
Then we install the processor: on the motherboard, find the CPU connector and install the processor, observing the orientation key. After that, apply thermal paste and carefully secure the cooler.
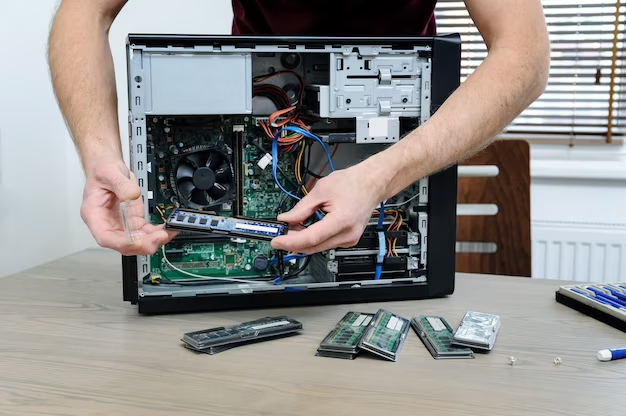
The next step is installing the RAM. Open the slot locks and insert the RAM sticks with a little force until they click. To mount data storage devices (HDD/SSD), use special mounts or trays that also securely fix the devices in the case.
Once the video card is installed, make sure that it is securely fixed in the slot and in the case. The last component to be connected before turning it on is the power supply. Make sure there is enough power for all devices and every cable is in place.
- Turn on the system and check that all coolers are working and the system boots.
- If the system does not start the first time, don’t panic. Turn off the power and recheck all connections.
First launch and installation of the operating system
After assembly, the most exciting moment is the first launch. Turn on your computer and carefully observe the posting process (POST), which performs a basic system check. If errors occur, this may be due to incorrect cable connections or incorrect installation of components.
By entering the BIOS/UEFI, make sure that all components are detected correctly. Make the necessary settings to optimize your PC. Next comes the installation of the operating system: select the OS suitable for your purposes and install it following the instructions on the screen.
After installing the OS, you need to install all the required drivers that will ensure stable operation of the entire system. Don’t forget to install an antivirus and a basic software package to start working fully on your new PC.
Maintenance and upgrades
After assembling your computer, do not forget to regularly clean dust and periodically update the software. This will help keep the system in working order and extend its service life.
Upgrade components if necessary. Usually they start by increasing the amount of RAM or adding a solid state drive. When updating the hardware, do not forget to also update the drivers.
Bottom Line
Building a PC yourself is a useful skill that opens up wide opportunities for you to understand computers and manage your own equipment. You not only save money, but also get a customized system that meets all your requirements and wishes.
Frequently asked questions
- Is it possible to assemble a computer without special knowledge?
Yes, it’s possible. There are many tutorials and video instructions that will help you understand the assembly process step by step. - Which operating system is better to install on a self-assembled PC?
The choice of OS depends on your personal preferences and goals. Windows is suitable for most users, while Linux may be of interest to those who want more control over their system. - How often should you clean your computer?
It is generally recommended cleaning at least once a year, but this may depend on the operating conditions. - Do you need to use an antistatic wrist strap when assembling your PC?
An antistatic wrist strap is optional, but is recommended for protection components against electrostatic discharge. - How do you know that all components are compatible?
Before purchasing components, make sure they are compatible by checking the specifications and consulting with the seller or experts on specialized forums.