With the rise of smartphone photography, capturing stunning images on your Android device has never been easier. However, to truly unleash the potential of your camera, some customization is key. This guide will explore various techniques and tools that can enhance your photography experience. You’ll discover how to optimize settings, leverage useful applications, utilize accessories, and personalize your phone’s interface to create a photographer-friendly environment. Whether you’re a budding enthusiast or a seasoned professional, these tips and tricks will help you elevate your photography game right in the palm of your hand.
Understanding the Basics of Android Photography
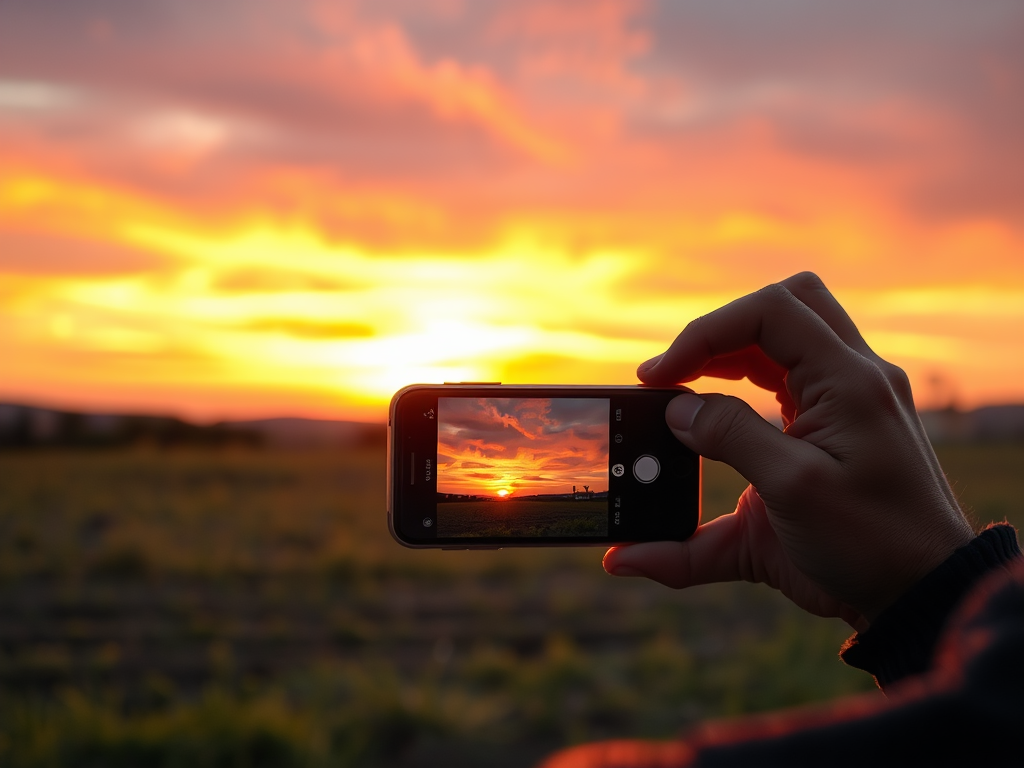
Before you can dive into customization, it’s important to understand the fundamentals of mobile photography. The camera is just one part of the equation; knowing how to take advantage of its features will make a significant difference. Factors such as lighting, composition, and subject matter play crucial roles in photography. Furthermore, the Android ecosystem provides extensive tools for tweaking and enhancing your shooting experience. Getting familiar with these aspects ensures that you make informed choices when it comes to personalization.
Essential Photography Apps to Enhance Your Experience

Installing the right applications can transform your Android phone into a versatile camera. In addition to the built-in camera app, various third-party options offer functionality that can significantly improve your shots. With tools dedicated to everything from editing to advanced shooting techniques, these apps can help you achieve specific aesthetics. By selecting the right suite of applications, you’ll gain access to features that make your creativity shine.
Here are some recommended photography apps that can enhance your shooting experience:
- Snapseed: A comprehensive photo editor that offers a plethora of editing tools and filters.
- VSCO: A popular app for both editing and capturing images with customizable presets.
- Adobe Lightroom: Known for its robust editing capabilities, it’s perfect for those serious about photography.
Optimizing Camera Settings for Better Results
The settings on your Android phone’s camera can affect the quality of your photos significantly. From resolution to focus modes, these settings allow for tailored photography experiences. Taking the time to adjust these options can greatly enhance image clarity and composition. Here’s an overview of key adjustments you should consider making:
| Setting | Recommendation |
|---|---|
| Resolution | Set to the highest available for detailed images. |
| Aspect Ratio | Use 16:9 for landscapes and 1:1 for social media. |
| Manual Mode | Utilize for personalized control over exposure and ISO. |
In addition, enabling grid lines can help you apply the rule of thirds, a technique that greatly enhances your photo composition. Remember, creativity often thrives on experimentation, so don’t hesitate to try different settings based on your environment.
Accessories to Enhance Your Photography
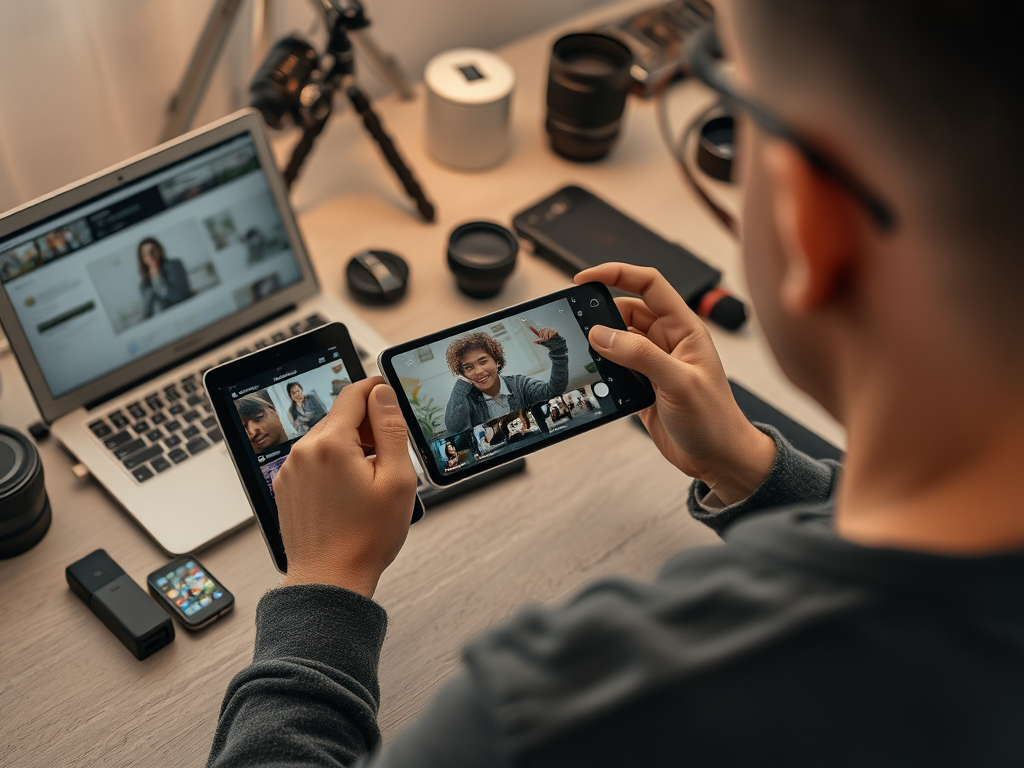
While your phone is powerful on its own, accessories can further elevate your photography game. From stabilizing shots to expanding your shooting capabilities, the right gear will allow you to unleash your creativity. Investing in a few key accessories can make a noticeable difference, especially for more advanced photography styles. Here are some must-have photography accessories that every mobile photographer should consider:
- Tripod: Stabilizes your phone for clearer images, especially in low light.
- Lenses: Clip-on lenses can provide wide-angle or macro capabilities to your smartphone camera.
- Lighting: Portable LED lights can be a game-changer for indoor or low-light photography.
Customizing Your Phone’s Aesthetic for Photography
Personalizing your interface can make it easier to access your favorite photography tools quickly. A streamlined home screen filled with photography apps helps you stay organized and focused. Furthermore, utilizing widgets for direct access to your camera apps or editing tools can dramatically speed up your workflow. Here are some tips to help you create a photography-focused interface:
- Organize your Home Screen: Place your most-used photography apps in an easily accessible spot.
- Use Widgets: Widgets allow quick access to your top camera tools.
- Wallpaper and Themes: Consider photography-related wallpapers to inspire creativity.
Conclusion
Customizing your Android phone for photography involves understanding your camera’s capabilities, utilizing effective apps, and incorporating helpful accessories. This transformation does not only enhance your shooting experience but also inspires creativity. From optimizing settings to personalizing your interface, you have the tools to capture beautiful images in an effortless manner. By following these tips and tricks, you’ll be able to elevate your photography skills and create stunning visuals that showcase your unique perspective.
Frequently Asked Questions
- What is the best camera setting for low-light photography? – Use a higher ISO setting, slower shutter speed, and ensure you’re using a stable surface or tripod.
- Do I need to invest in camera accessories? – While not mandatory, accessories like tripods and external lenses can greatly improve image quality and versatility.
- Which app is best for editing photos on Android? – Snapseed is frequently recommended for its user-friendly interface and wide range of editing tools.
- How do I reduce image noise in my photos? – Increase the exposure time and use a lower ISO setting in manual mode while ensuring stability.
- Can I shoot RAW photos on my Android phone? – Yes, many Android phones allow you to shoot in RAW format, which provides greater flexibility in editing. Check your camera app settings.


